A desktop that looks as good as it works doesn’t happen by accident. LED strips are the easiest, most customizable way to dial in your setup’s vibe, whether you want moody cyberpunk, clean studio minimalism, or something that shifts with your workflow. With a little planning and a few clever placements, you can transform the feel of your space without ripping everything apart or blowing your budget. Here’s how to make LED strips pull serious weight in both style and function.
Plan Smart: Safety, Power, And Color Strategy
Before sticking anything down, map your vision. A clean, safe install starts with the basics:
- Measure runs (in centimeters or inches) and note corners. Plan where power will enter. Choose voltage (5V addressable for effects, 12V/24V for longer runs). Clean surfaces with isopropyl alcohol before mounting.
Power: Most desktop LED strips are 5V (USB-powered) or 12V. Addressable RGB (often labeled ARGB, 5V 3‑pin on motherboards) lets you control each diode for gradients and visualizers. Non-addressable 12V/24V strips are brighter and better for long, even runs. Check current draw: a typical 60 LEDs/m strip at full white can hit 12–18W/m. Get a UL-listed power supply with 20–30% headroom and avoid daisy-chaining excessive lengths from a single feed.
Safety: Don’t bury strips where heat can’t dissipate. Avoid sharp 90° bends (use corner connectors or gentle curves). Keep away from dust-prone fans. If you tie into your PC’s PSU, follow your motherboard’s header specs (5V ARGB uses 3-pin: 12V RGB uses 4-pin) and never mix them.
Color strategy: Decide your palette upfront. For productivity, cooler whites (5000–6500K) feel crisp. For cozy evenings, warm whites (2700–3500K) soften edges. If you’re running RGB, pick a base theme that matches your peripherals and wallpaper, then use accents sparingly. Bias lighting behind screens looks best around D65 (6500K). You can always add drama later with scenes and effects.
Control: If you want software control that syncs with games or music, consider SignalRGB, OpenRGB, Razer Chroma, or iCUE. For room-wide control, look at smart controllers that work with Matter, HomeKit, Alexa, or Google Home.
Ambient And Accent Lighting Ideas
1. Perimeter Glow Behind The Desk
Run LED strips along the back perimeter of your desk, about 1–2 inches from the edge. The wall wash makes your desk look bigger and cleaner, reduces harsh shadows, and sets the entire scene with a single hue. Use diffusers if your wall is glossy to avoid hotspot reflections. If your desk sits away from a wall, angle the strip inward under the top panel to create a soft halo that frames your gear.
Pro tip: Pair a cool white or soft blue with warm wood tones: it adds contrast without clashing.
2. Under-Desk Float Effect
Stick a strip under the front lip or along the underside rails so the desk seems to float. A narrow beam straight down keeps it subtle: a wider diffuser makes it cloud-like. For standing desks, route wiring with flexible loom and leave extra slack for height changes. If you game late, a dim amber under-glow helps visibility without blasting your eyes.
3. Backlight Monitors For Bias Lighting
Bias lighting reduces eye strain and increases perceived contrast. Mount a strip around the rear edges of your monitor(s), 5–10 cm in from the perimeter, and set it to a neutral 6500K for color-critical work. If you’re using RGB, lock in a white balance preset for daytime and a warmer scene at night. For multi-monitor setups, run a separate controller per display or split zones so corners don’t show uneven brightness.
Functional And Workflow Lighting
4. Task Lighting Under Shelves Or Cabinets
If you’ve got wall shelves above your desk, hide a high-CRI white LED strip under the lip. It throws clean light onto your workspace without adding clutter. Use aluminum channels for cooling and a frosted diffuser to soften glare on glossy keyboard keycaps. Add a motion sensor for a hands-free pop of light when you sit down.
5. Cable Tunnels As Design Elements
Cable management doesn’t have to be invisible. Mount a slim strip inside a translucent cable raceway behind or below the desk. When lit, the “tunnel” draws the eye and disguises what’s inside. Keep cables in black or white sleeves so they disappear when the light’s on. Aim for low brightness here, this is accent, not a flashlight.
6. Drawer, Pegboard, And Nook Illumination
Light the spots you reach for the most. A short strip along the inside lip of a drawer turns rummaging into a single glance. On a pegboard, outline a tool zone with a soft glow so you can find adapters, SD cards, or dongles fast. If you’ve got a PC nook or console shelf, backlight it to highlight textures and make the rig feel like part of the room design. Magnetic channel mounts let you remove and rewire easily.
Personalization And Dynamic Effects
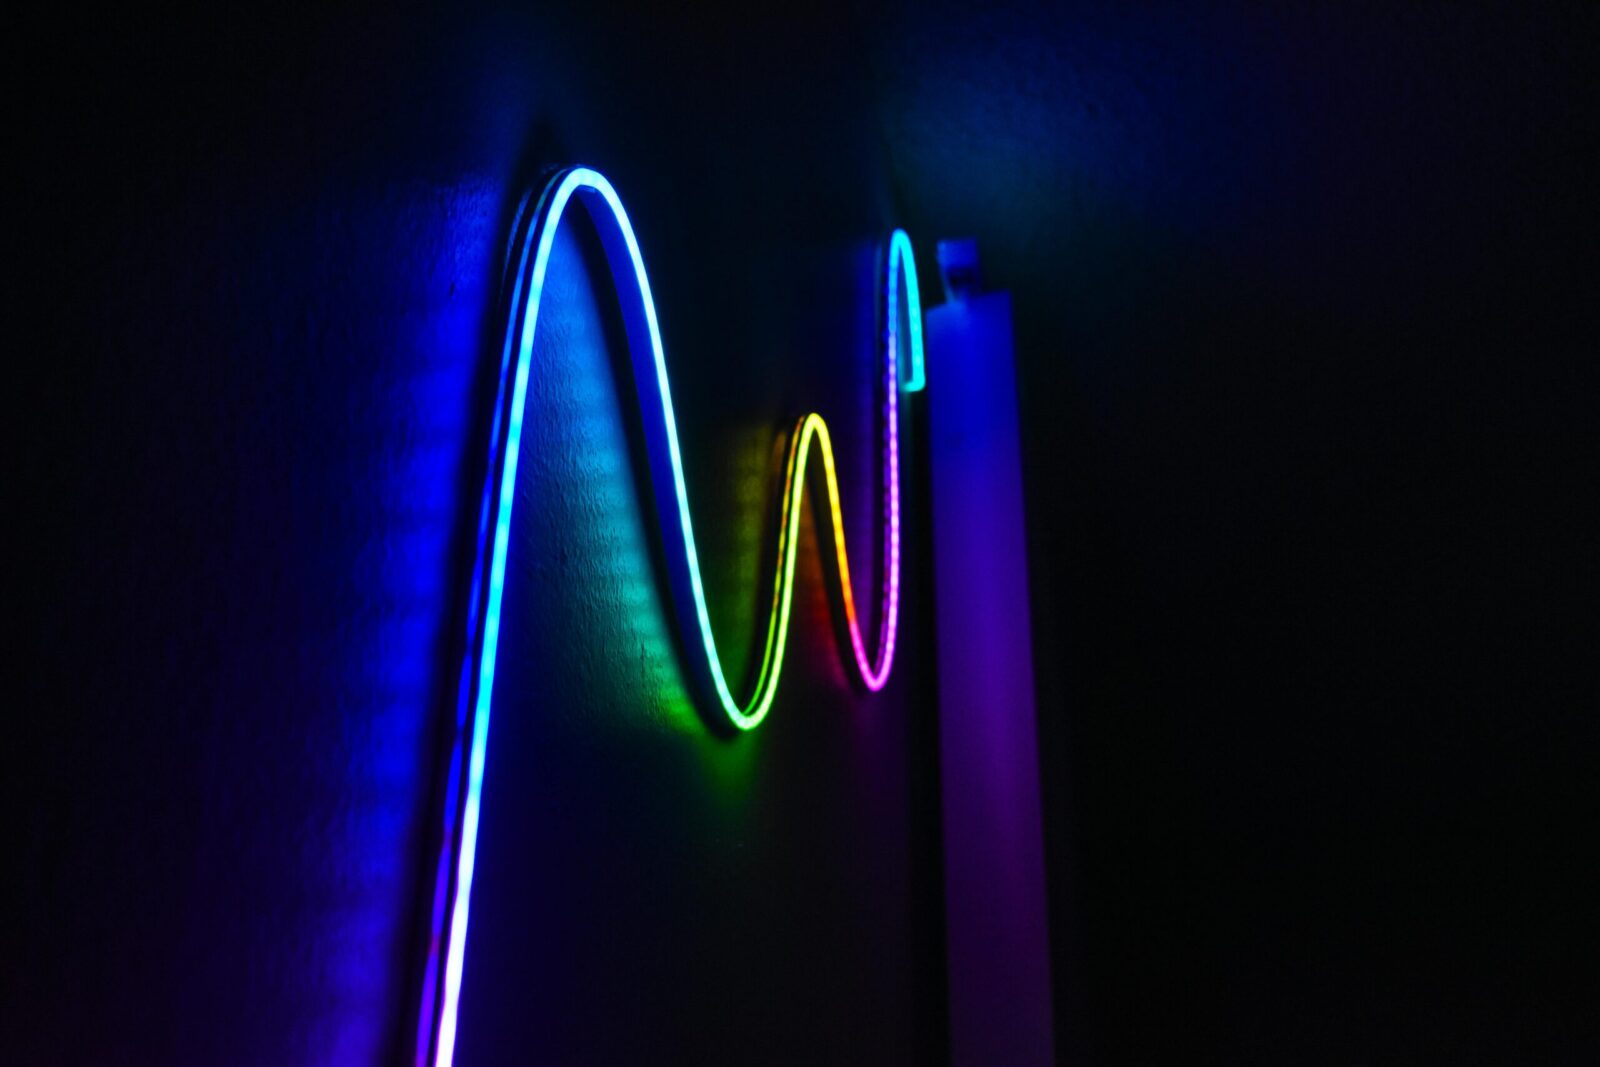
7. Reactive Audio Visualizers
Addressable LED strips can mirror your music or games in real time. Place a short run behind your speakers or along the desk edge and let an audio visualizer react to bass hits and snares. Keep the palette to two or three hues to avoid chaos. If you stream, a restrained visualizer becomes a signature look without distracting your audience.
8. Scene Presets For Focus, Gaming, And Relaxation
Build three core scenes you can switch with a hotkey or smart button:
Focus: cool-white task lights on, ambient glow low and neutral.
Gaming: saturated accent colors, bias lighting synced to your wallpaper or game.
Relax: warm, dimmed tones: under-desk and backlight only.
Tie scenes to time of day or app triggers, launching a DAW could set a calm, warm white: starting a game kicks on your RGB gradients. Small changes (like dropping under-desk brightness at night) make the whole setup feel intentional.
Materials, Mounting, And Clean Installs
9. Diffusers, Aluminum Channels, And Edge-Lit Acrylic
Raw LED strips can look harsh. Slide them into aluminum channels with frosted covers for a smooth bar-of-light effect and better heat management. For a modern twist, try edge-lit acrylic: mount a strip along the edge of a clear or engraved acrylic panel to make logos, grid lines, or icons glow. It’s a compact way to add personality without more devices on the desk.
Diffusers also help when your wall texture is uneven. They blend the points into a single, soft wash so your wall doesn’t look speckled.
10. Invisible Runs, Corners, And Seamless Splices
The most polished setups hide the hardware. Route LED strips behind desk braces, inside channel grooves, or under lips where you can’t see the diodes directly. Use L-shaped corner connectors or pre-bent channels for crisp turns. When you must splice, match polarity, use quality solder or locking connectors, and heat-shrink the joints. Keep run lengths within spec: power inject for longer spans to avoid one end looking dimmer.
A quick trick: paint or wrap exposed aluminum channels to match your desk. The light disappears until you turn it on.
Maintenance, Integration, And Budget Tips
LED strips are low-maintenance if you prep right. Clean surfaces with 70–90% isopropyl alcohol before applying adhesive. If the included tape is weak, swap for 3M VHB. Dust the strips and diffusers monthly so colors don’t look muted. If a segment dies, many strips can be cut and replaced at the marked copper pads, keep a spare half-meter on hand.
Integration is where your desktop aesthetic levels up. Sync bias lights to screen content for movies or design reviews. Map your keyboard, mouse, and PC case lighting to the same palette so nothing clashes. If you’ve got smart bulbs or a light bar, put everything under one controller or link platforms through Matter where possible. It’s easier to keep color temperature consistent across the room when one preset rules them all.
Budget wisely. You don’t need top-shelf LEDs everywhere. Use high-CRI whites where you do real work (task zones), and cheaper RGB strips for accent runs you’ll keep dim. Buy the right voltage from the start, 5V addressable for effects up close, 12V for long, even ambient washes. Don’t skimp on the power supply or aluminum channels: those two upgrades make even budget strips look premium.
Finally, start simple. One great perimeter glow and a bias light behind your monitor will transform your desk more than five half-baked ideas. You can always add the fancy stuff, audio reactive edges, edge-lit acrylic, scene automations, once the foundation looks clean.
Frequently Asked Questions
What’s the difference between 5V addressable RGB and 12V/24V LED strips for a desktop aesthetic?
5V addressable RGB (ARGB) lets you control each LED for gradients, visualizers, and sync effects—ideal for close-up, dynamic desktop aesthetics. Non-addressable 12V/24V LED strips are brighter and better for long, even ambient runs. Match headers correctly (5V 3‑pin vs. 12V 4‑pin) and size a UL‑listed PSU with 20–30% headroom.
How do I set up LED strips for proper bias lighting behind monitors?
Mount LED strips 2–4 inches (5–10 cm) in from the back edges of your monitor and set them to a neutral D65 (around 6500K) to reduce eye strain and boost perceived contrast. Use diffusers for smoother output, and keep multi-monitor zones balanced with separate controllers or carefully split channels.
What’s the best way to mount LED strips cleanly and safely on a desk?
Clean surfaces with 70–90% isopropyl alcohol, use aluminum channels with frosted diffusers to soften hotspots and manage heat, and avoid sharp 90° bends—use corner connectors or gentle curves. Hide runs under lips or braces, power-inject long spans, and upgrade weak adhesive to 3M VHB for a lasting, polished install.
How long do LED strips last, and do they need heat management on a desktop?
Quality LED strips typically last 25,000–50,000 hours. They run warm, not hot, but heat shortens lifespan and shifts color. Mounting in aluminum channels acts as a heatsink, avoiding enclosed spaces and letting air circulate. Run them below full brightness for longevity, and dust strips and diffusers monthly to maintain output.
Are COB LED strips better than standard SMD strips for a seamless desktop glow?
COB LED strips pack many tiny emitters under a phosphor layer, creating a near-continuous, dot-free line—excellent for desk edges, bias lighting, and exposed runs. Standard SMD can show hotspots unless diffused. COBs often cost more but deliver smoother light in tight spaces; pair with channels for the cleanest finish.
No responses yet